---
title: "Coded Widget"
slug: "coded-widget-1"
updated: 2024-11-25T05:44:32Z
published: 2024-11-25T05:44:32Z
canonical: "help.symphonysummitai.com/coded-widget-1"
---
> ## Documentation Index
> Fetch the complete documentation index at: https://help.symphonysummitai.com/llms.txt
> Use this file to discover all available pages before exploring further.
# Coded Widget
**Coded** widget lets you create any widget functionality using **HTML**, **CSS**, and **Client Script** and design custom widgets.

User persona: Application Designer
Let's explore the following Use Case for designing the Coded **widge****t**!
| **Use Case** User persona: Administrator | **Solution** |
| --- | --- |
| A Service Management company has a service portal for an IT department, where employees can submit service requests, such as requesting a new laptop, reporting a software issue, or asking for technical assistance. The portal allows users to submit and track their service requests. However, the standard portal doesn't provide a real-time status update for service requests. Sandra, the Administrator wants a custom widget that displays the real-time status of service requests. This widget should be placed on the portal's homepage as dedicated "Service Request Status" widget. | Sam can enable **Coded** widget that leverages the power of code by which users can create useful and innovative widgets to meet their needs. He can use: - Use HTML to structure the widget. - Use JavaScript to fetch data from your service request database or API. This data should include the request ID, request type, and current status. - Update the widget's HTML to display the fetched data. With this custom coded widget, users of your service portal can easily check the status of their service requests without having to contact the IT department. |
Configure Coded widget
This section contains the list of steps using which Application Designer can add the widget in the Service Portal screen.
1. Navigate to **Design** **Portal** > **Widgets** > **Add Widget**.
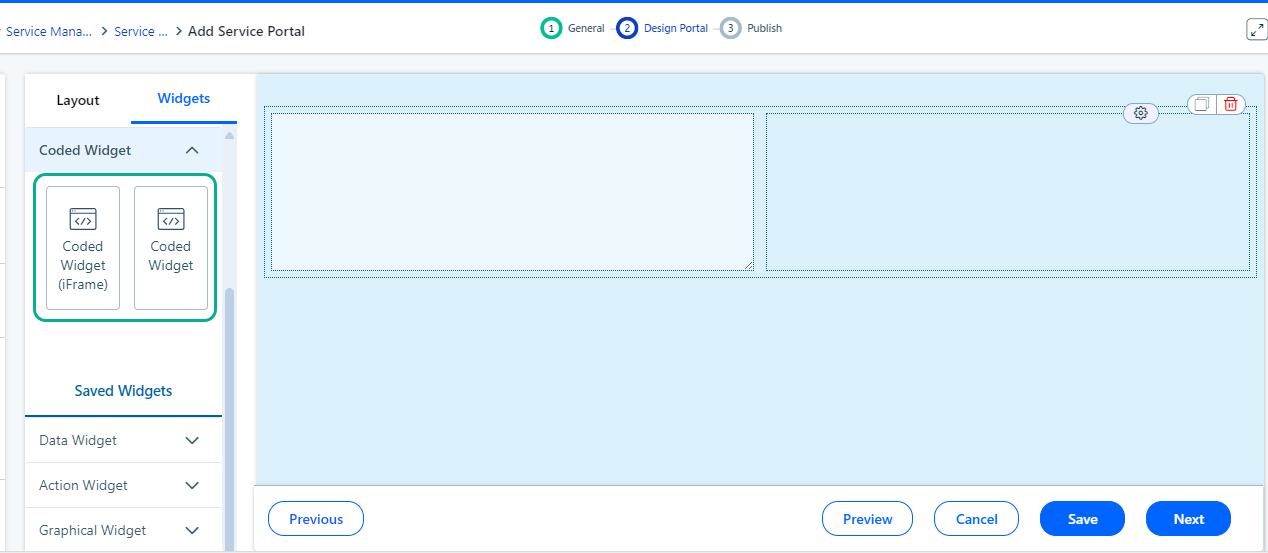 Figure: Adding Widgets
2. Customize the Service Portal by dragging the widget from the widget list screen.
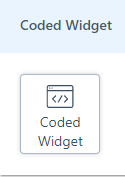Figure: Coded widget
3. Click icon to view Properties pop-up.
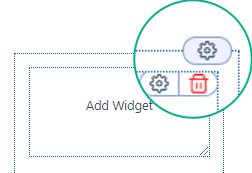Figure: Modify the properties
You can view the following tabs on the **S****ettings** for this field:
### Properties
This section contains the list of properties using which the Application Designer can configure the respective widget feature. To know more about the fields that are available under the **Properties** section, see the Field Description given below.
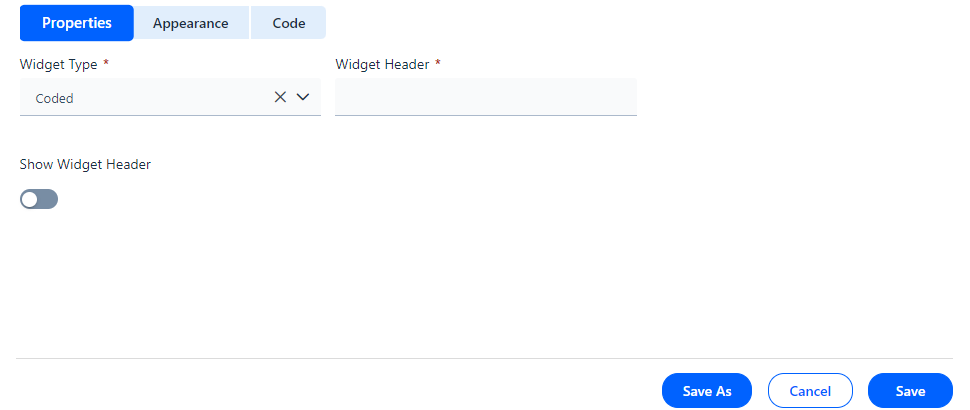
Figure: Properties tab
**Field Description**
| Properties |
| --- |
| Widget Type | Select the **Coded widget** from the field drop-down list. |
| Widget Header | Enter the name of the widget in the textbox. |
| Show Widget Header | Enable the bar to show widget header. |
### Appearance
This section contains the list of features using which the Application Designer can select **Title**, **Background** and **Border**.
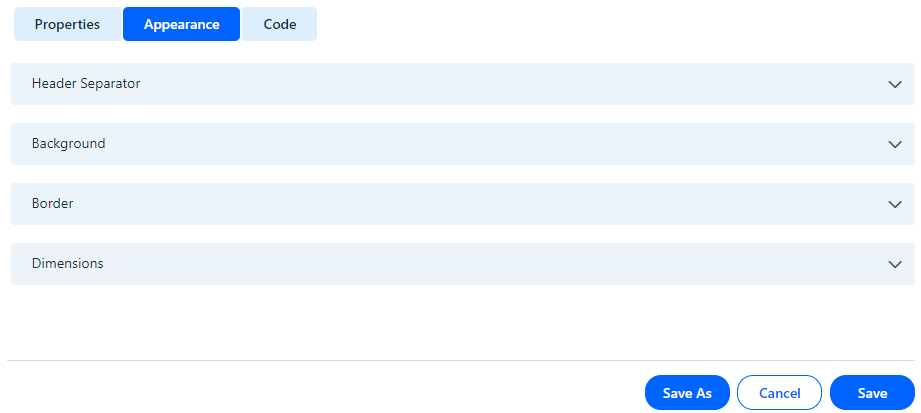
Figure: Appearance tab
**Field Description**
| **Header Separator** |
| --- |
| Border | Select the border type of the widget. |
| Width | Select the width of the widget. |
| Color | Select the preferred color from the color palette. |
| **Background** |
| Background Type | Select the preferred background type. Figure: Background |
| **Border** |
| Border | Select the border by selecting desired Border Type from the drop-down list. |
| **Dimensions** |
| Dimension | Select the height and width for the widget from the drop-down list. Figure: Dimension |
### Code
This section contains the list of properties using which the Application Designer can configure the respective widget feature using HTML, CSS, and Java Scripts. 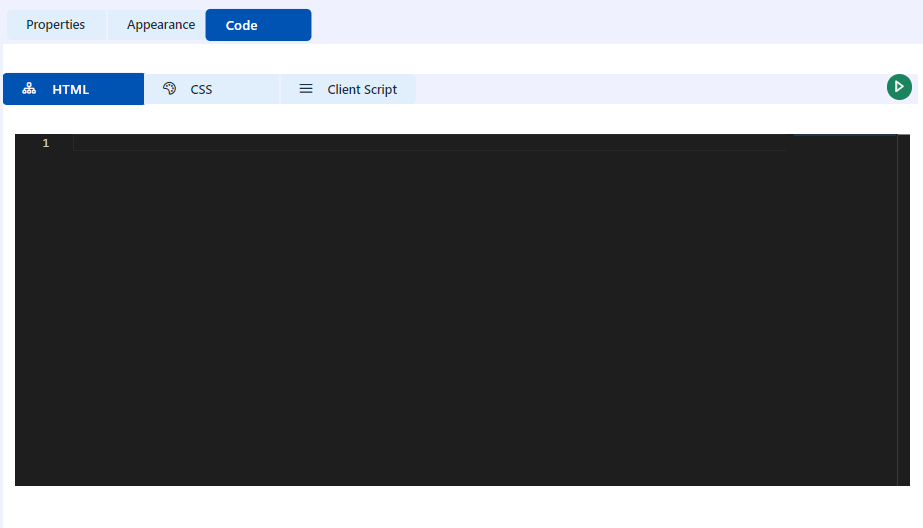Figure: Code view
The following table contains a brief description of the types of **Graphical** **widgets**.
| Border |
| --- |
| **HTML** | Type or insert the HTML code in the editor space. |
| **CSS** | Add the CSS script in the editor space. |
| **Client Script** | Type the Client Script. |
### Create a custom widget to display business metrics
This section contains sample of the scripts which can be added under the widget editor field to customize the widget.
To create a unique widget, perform the following steps:
1. Navigate to **Code** tab to open the script field.
2. Replace the HTML template with the following script:
This script performs a counter section showing the business growth of your organization.
Markup
```markup
Hello, Welcome to ACME Summit Website!
A sneak peek to your business growth metrics.
200+
Product Releases
100+
Knowledge Articles
150k+
Happy Customers
50+
New Releases-2023
```
3. Save your pages to view the changes. The page displays the business progress metrics of the organization.Figure: Custom widget displaying the business growth metrics
NoteYou can also create similar widgets, such as a change calendar, by customizing the script to display scheduled changes in a calendar format.
